Sand Shader
Interactive Sand in Unity
A Sand Shader that glitters based on view-direction, utilizes some lighting trickery, and displaces vertices in real-time.
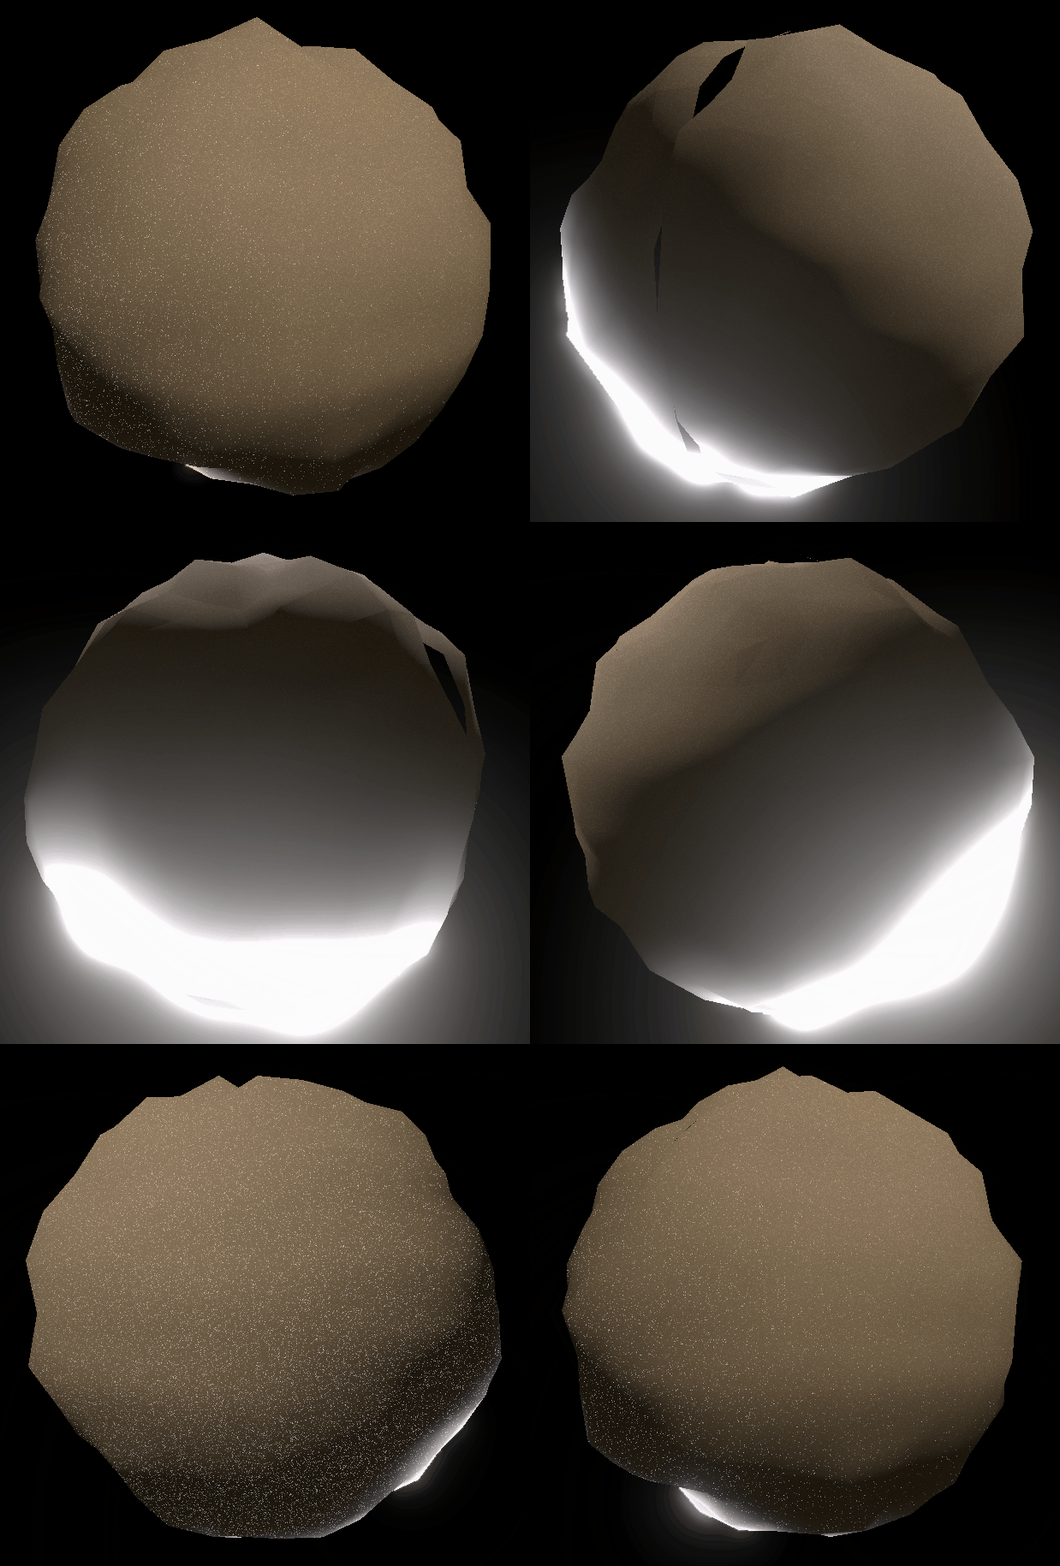

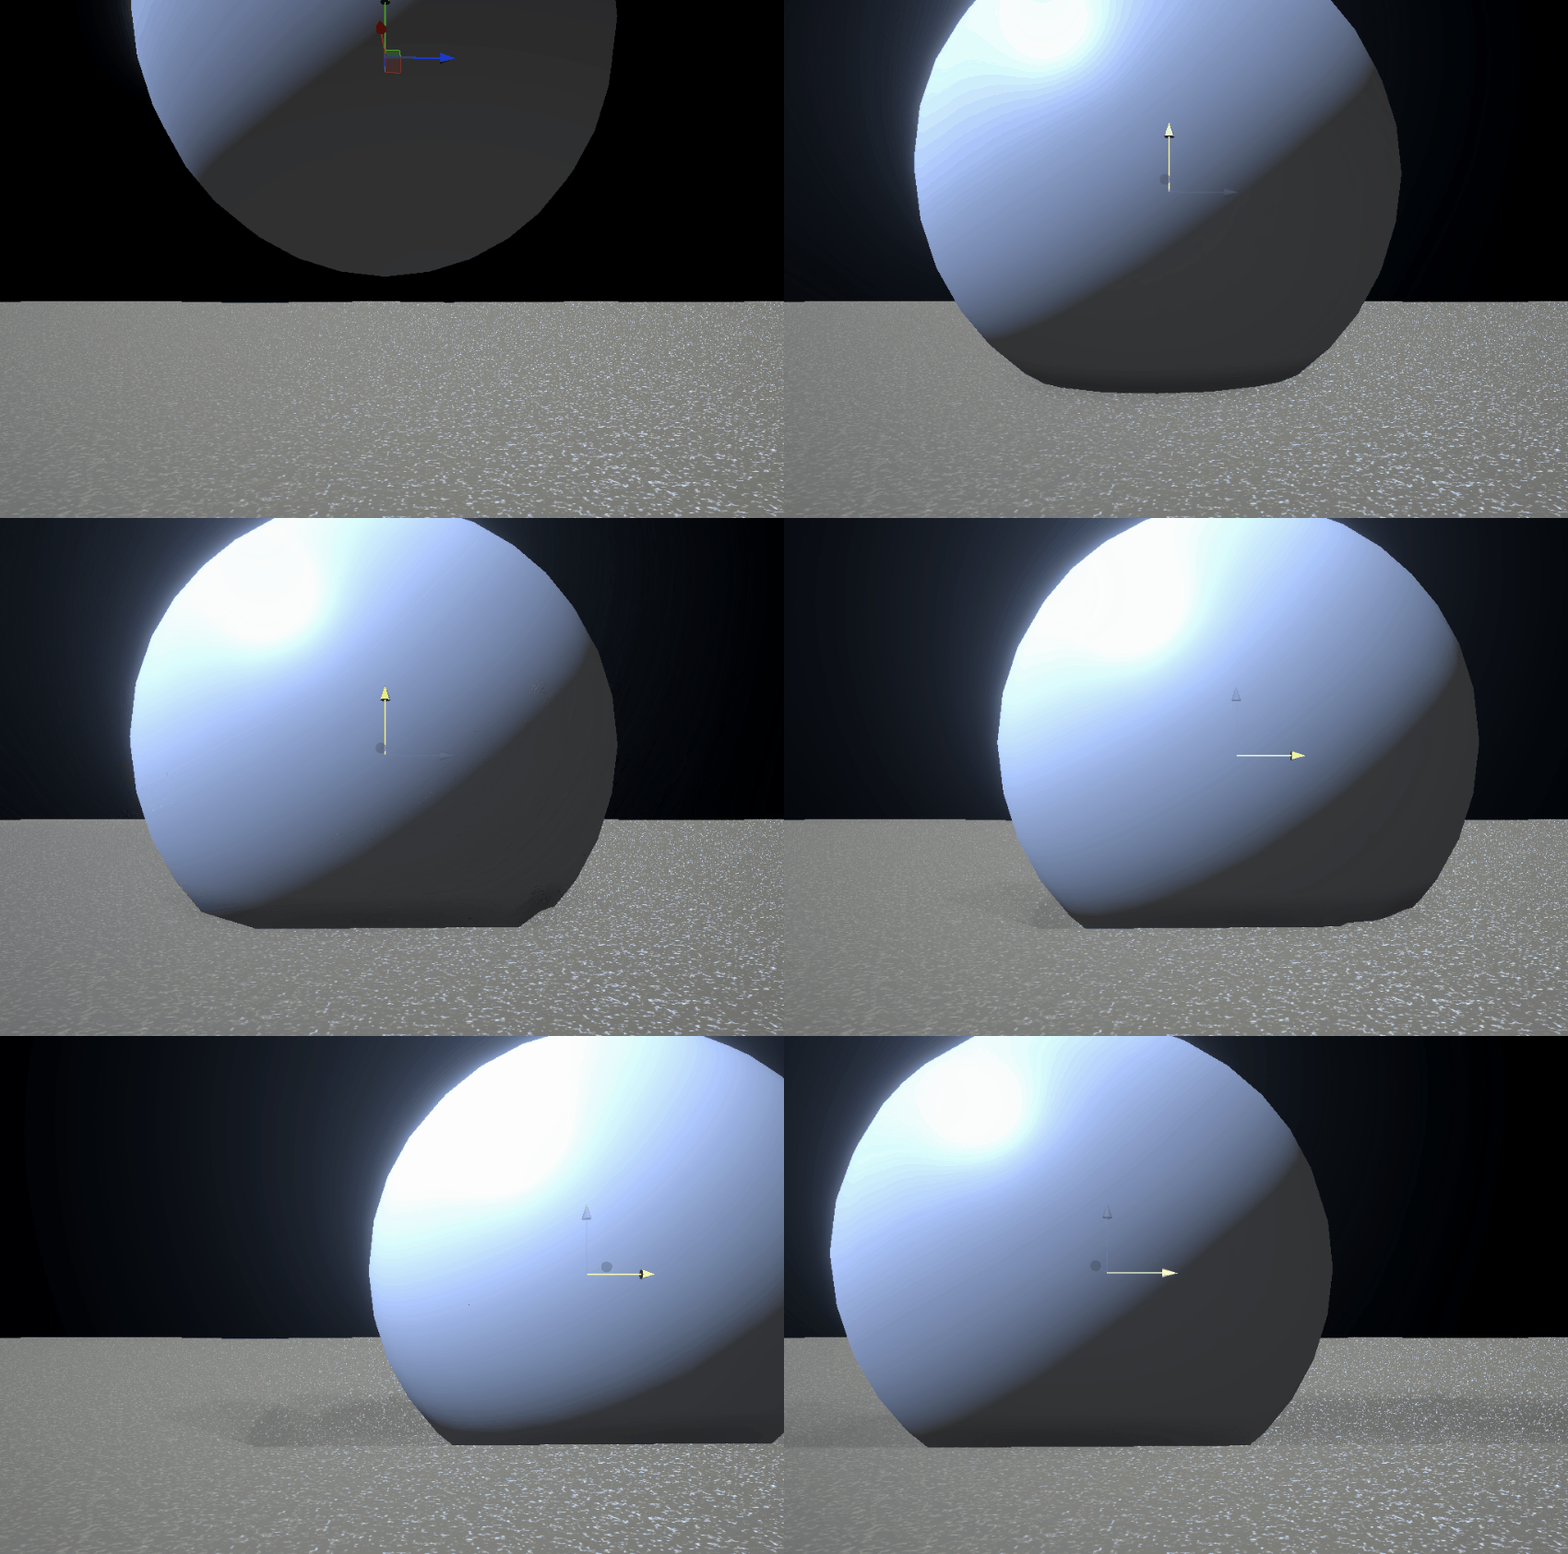

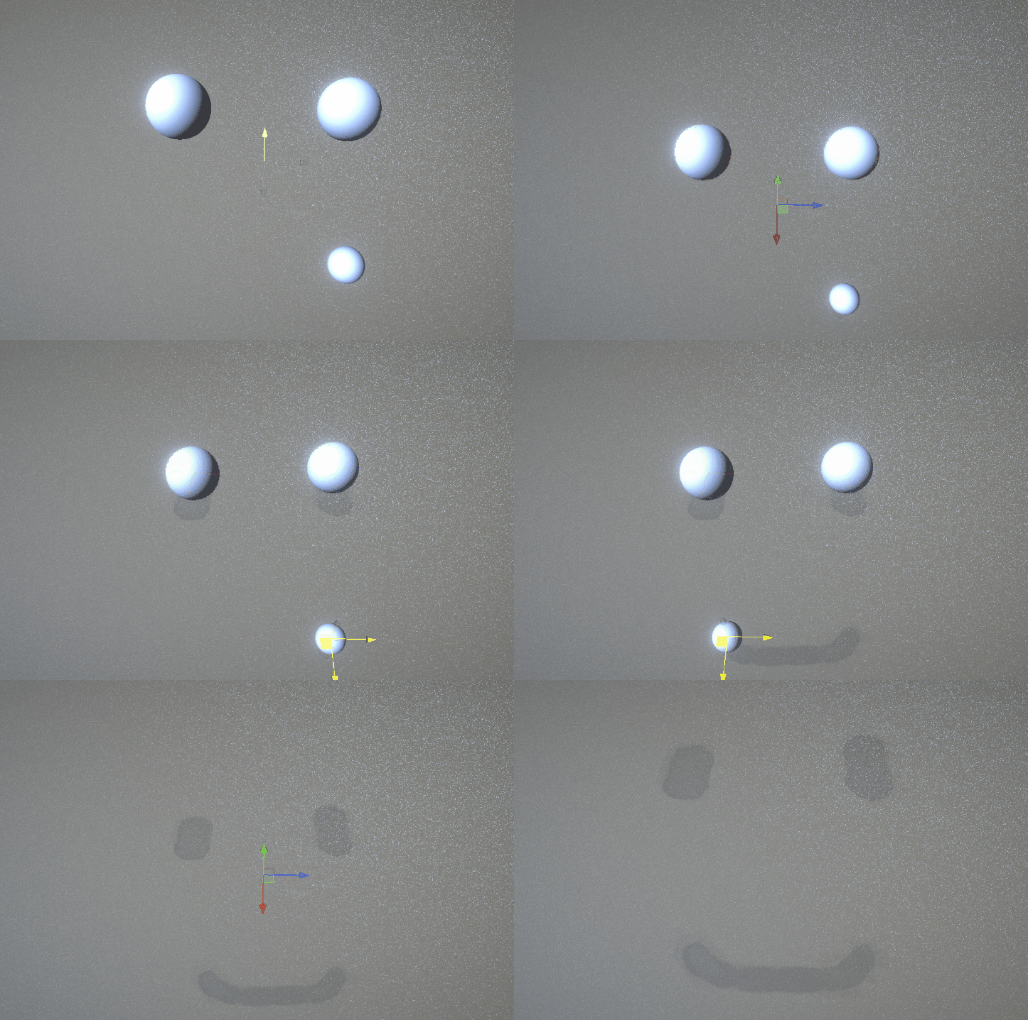
Here's an outline of the effects in the shader, which I'll explain in greater detail later:
Vertex Shader:
-
Generate dunes
-
Depress Vertices beneath the ball
Fragment Shader:
-
Generate noise for base color
-
Add glitter
-
Add rim lighting
Vertex Shader:
To generate the dunes, simply displace a vertex by taking it's position and adding it's normal, multiplied by a height value. By multiplying the height by a non-uniform value, you can displace each vertex by a different amount. The pattern that performs this function can be as simple or as complicated as you would like. In this implementation, each vertex's displacement is effected by a simple gradient noise.
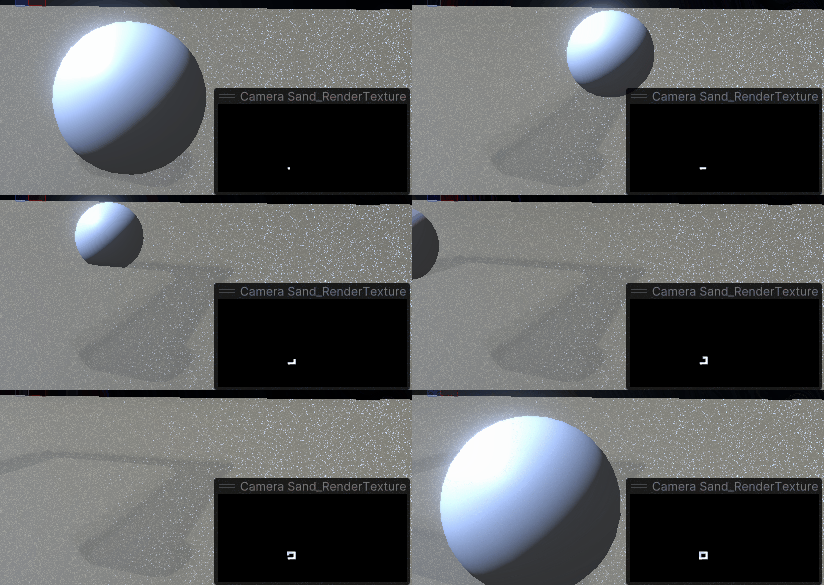
To depress the sand in real-time beneath a ball or other object, we'll use the same displacement technique, with an added trick. First, in order to displace the vertices beneath the object, we'll need to know the objects location mapped to the surface of the sand object. In this implementation, this is done by drawing a reduced form of the scene to a render texture, using a special orthographic camera, where it's view frustum is equivalent to the size of the ground-plane, and it's look-direction is the opposite of the sand surfaces (original) normal. By drawing particles generated at the point of the ball or object, and nothing else, this camera produces a render texture that is completely black (or 0) wherever the ball isn't and white (or 1) where the ball is or has been. We can add this to our other displacement, in order to get the desired effect.
Fragment Shader
Since we're not using pre-made textures at all here, we generate the fragment color from simple noise, which we clamp between 0.45 and 1.0 to reduce the "harshness", before multiplying it with the base color of the sand.
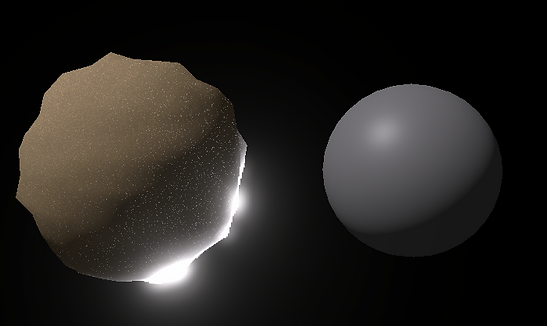
For the glitter effect, we again, generate simple noise and multiply it by the base color of the glitter. Then we subtract a float and normalize, which drops most of the noise off, allows the glitter to show up only intermittently across the texture, rather than being fully present in every pixel of the material. Now, we adjust the brightness of the glitter based on the viewing angle by taking the normalized view direction in world space and the dot product of the value we just made. This will return a value between 0 and 1, so that glitter will only shine at certain view directions. Finally, multiply that by the color of nearby lights, and add it as an emissive.
Finally, rim lighting - to give the dunes a more magical feeling. To do this, we take the inverse of the main light direction, to calculate it's dot product with the normal vector of the fragment, and multiply that with a power to adjust shadows. We also take one minus the dot product of the normal and view directions, and multiply it with a power to tweak the strength of the edge-lighting. Multiply this with the first value, multiply that with the lighting color, and finally add it to the glitter emissive.
Takeaways
This was an interesting dive into a basic shader concept that I had not seen before - using render textures for vertex displacement. Of course, this has it's limitations, as since the mesh is not actually modified, you can't use it in collisions. It's something I would like to experiment with more, particularly on whether I could remap objects' UVs, or use a raycasting technique to produce a similar effect, but on complex surfaces, like that of a sphere.
Special thanks to the following resources: